

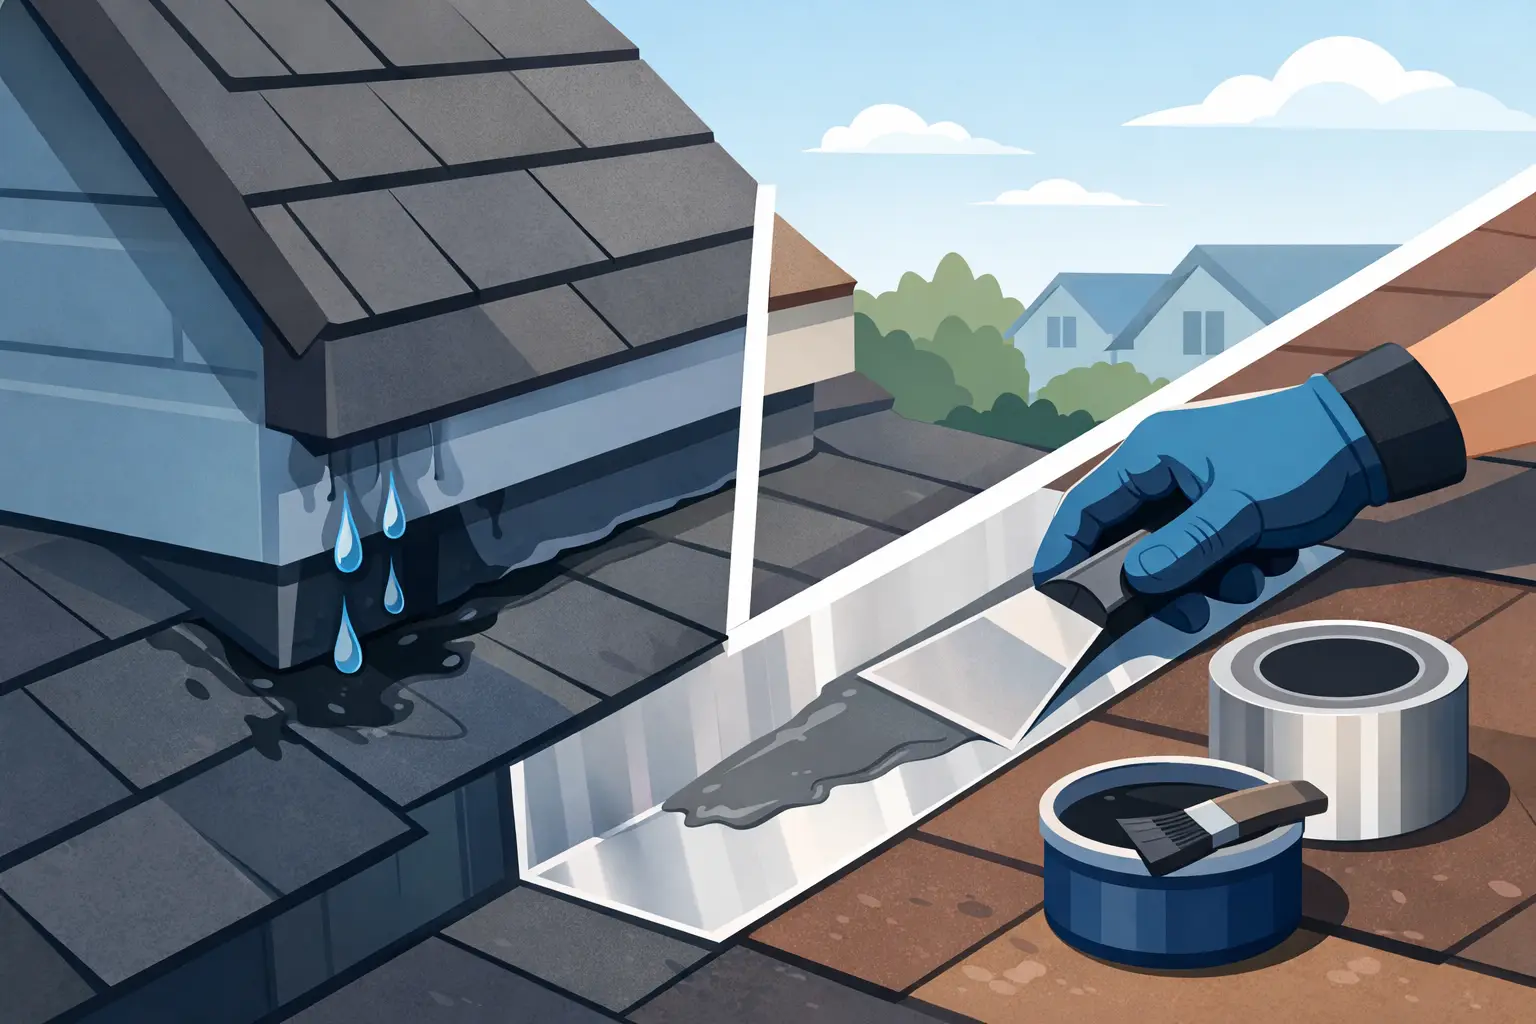
A roof leak often shows up far from the actual opening. Water can travel beneath roofing material, along decking, or down a wall before it stains a ceiling. That is why knowing how to patch roof flashing starts with finding the failed joint, not simply covering the wet spot inside.
Flashing is the material that seals vulnerable roof transitions: around pipes, skylights, chimneys, walls, vents, roof edges, and equipment curbs. On flat and low-slope roofs, these details do much of the work of keeping water out. A small split, lifted edge, loose fastener, or failed bead of sealant can become a larger repair if it is ignored through another Oregon rainy season.
Start With a Safe, Dry Inspection
Do not inspect or repair a roof during rain, high winds, frost, or when the surface is slick with moss. Use a stable ladder, wear shoes with good traction, and avoid stepping on soft, damaged, or ponding areas. If the roof is steep, high, or difficult to access, the safer choice is to have a roofing professional inspect it.
Begin at the roof penetration or edge closest to the interior leak. Look for cracked sealant, rusted metal, gaps where flashing meets siding or masonry, exposed fasteners, curled membrane, and loose counterflashing. On a flat roof, pay close attention to seams where the roofing membrane turns up a wall, pipe, skylight, or mechanical unit.
The visible damage may not be the only issue. If you see darkened wood, soft roof decking, wet insulation, widespread blistering, or water trapped beneath the membrane, a surface patch alone will not solve the problem. Those conditions usually call for a more complete repair.
Identify the Flashing Before Choosing a Repair
A lasting patch depends on using materials that work with the existing roof system. Roofing products are not universally compatible. Some solvents and asphalt-based products can damage certain single-ply membranes, while the wrong sealant may fail to bond to metal, masonry, or aged roofing material.
Common flashing materials include galvanized steel, aluminum, copper, lead, rubber pipe boots, and membrane flashing made from PVC, TPO, EPDM, or modified bitumen. A metal chimney flashing repair is handled differently than a torn TPO pipe flashing. If you are unsure what material is on your roof, avoid applying a random tube of roof cement and hoping for the best.
For a small repair, you generally need a cleaner appropriate for the surface, a compatible roofing sealant or manufacturer-approved patch material, a stiff brush or scraper, rags, and possibly replacement fasteners. Metal flashing may also require sheet-metal screws with neoprene washers. On membrane roofs, use the patch and primer designed for that membrane whenever possible.
How to Patch Roof Flashing at a Small Split or Loose Edge
The basic process is simple, but preparation determines whether the patch holds. A patch applied over dirt, moss, old loose sealant, or wet material will usually fail early.
First, clean the repair area thoroughly. Remove loose debris, moss, flaking sealant, and rust scale without damaging sound roofing material. The surface must be dry before new sealant or patch material is applied. If the flashing is wet underneath or the area cannot dry out, stop there and schedule a repair instead of trapping moisture in the assembly.
Next, check whether the flashing itself is still firmly attached. If a small section of metal flashing has lifted, carefully secure it with appropriate fasteners placed where they will be protected by the roofing system. Do not drive fasteners through the lowest part of a roof valley or through standing water areas. Each unnecessary hole creates another place for water to enter.
Apply compatible sealant beneath a loose edge where appropriate, then press the flashing back into place. Cover exposed fastener heads and the repaired edge with a smooth, continuous bead of sealant. The goal is a complete weather seal, not a thick mound of material that can crack or hold water.
For a small tear in membrane flashing, clean and prime the surface according to the patch system instructions. Cut the patch with rounded corners, extending it beyond the damaged area on all sides. Rounded corners are less likely to lift than square corners. Roll or press the patch firmly so it makes full contact, especially around edges.
Allow the repair to cure as directed by the product manufacturer. Then inspect it after the next rain. Look inside as well as outside. A dry patch on the roof does not guarantee the underlying roof deck was not already affected.
Repairs Around Pipes, Chimneys, and Walls
Pipe flashings fail frequently because the rubber boot ages, cracks, or separates from the pipe. A bead of sealant can sometimes temporarily close a very small split, but brittle or badly cracked pipe boots should be replaced. Patching a worn-out boot repeatedly tends to cost more over time than installing a proper replacement.
Chimney and wall flashing require extra care. Step flashing should be layered with the roofing material, while counterflashing protects the upper edge where flashing meets brick, siding, or stucco. If sealant is failing along that upper joint, remove only loose material and apply a compatible exterior sealant to a clean, dry joint. Do not rely on sealant to hold loose metal in place or to replace missing step flashing.
On low-slope roofs, wall flashing is often integrated into the membrane. If the membrane has pulled away from the wall, the repair may involve a termination bar, fasteners, sealant, and a membrane patch. Because movement, drainage, and material compatibility all matter, this is a repair many property owners are better off leaving to an experienced flat roofing crew.
Avoid These Common Flashing Repair Mistakes
The quickest-looking repair is not always the best repair. Roofing problems often get worse when a patch blocks drainage or hides a failing detail.
Avoid these four mistakes:
- Applying new sealant over wet, dirty, or loose material.
- Using asphalt roof cement on a membrane that is not designed for it.
- Covering a major rust hole, cracked boot, or missing flashing with sealant instead of replacing the damaged piece.
- Ignoring the roof area above the leak, where water may be entering before it reaches the flashing you found.
Also avoid excessive caulk. Sealant is useful at laps, fasteners, terminations, and small gaps, but it is not a substitute for correctly installed flashing. If you need several tubes of sealant to make one area look secure, the detail likely needs to be rebuilt.
Know When a Patch Is Not Enough
A do-it-yourself patch can be reasonable for a small, accessible defect on a roof that is otherwise in good condition. It is less appropriate when the leak returns, the flashing is badly corroded, the roof has multiple failing seams, or the interior ceiling is wet and sagging.
Commercial roofs, manufactured home roofs, and older flat roofs can have concealed moisture beneath the surface. What appears to be one failed flashing joint may be connected to drainage issues, deteriorated insulation, or an aging membrane. A professional inspection can identify whether a targeted repair will provide value or whether a larger section needs attention.
For property owners in Roseburg, Coos Bay, Coos County, and Douglas County, Rich Rayburn Roofing can inspect flashing concerns and recommend practical repair options for residential, manufactured home, and commercial flat roofs. Experienced workmanship matters most at transitions, where a small detail can protect the entire roof system.
A clean, compatible patch can buy time and stop a minor leak. But when the flashing is loose, the roof surface is failing, or moisture may already be below the roofing, addressing the cause now is the better way to protect the building beneath it.